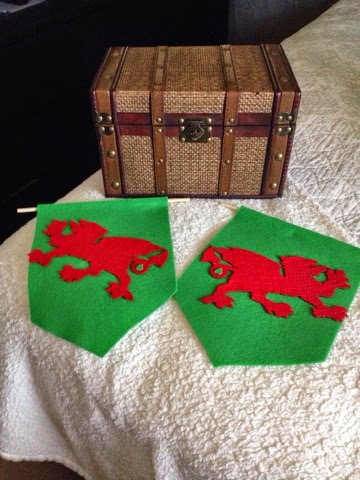
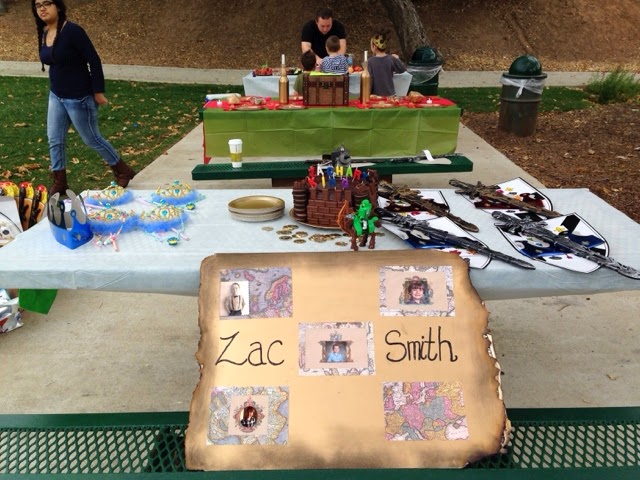
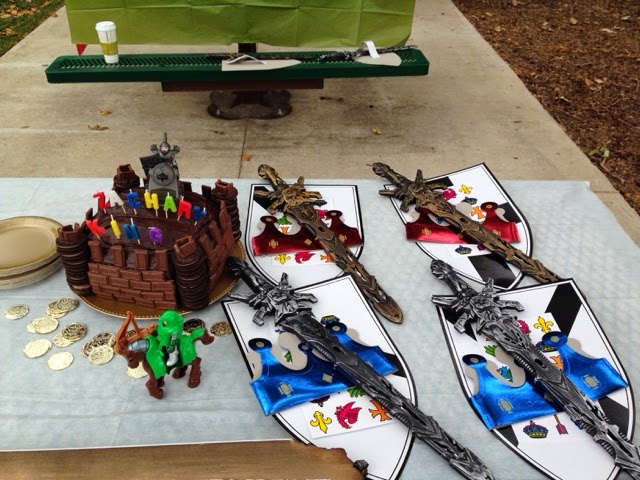
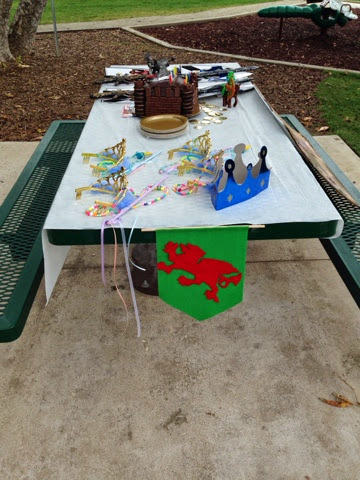
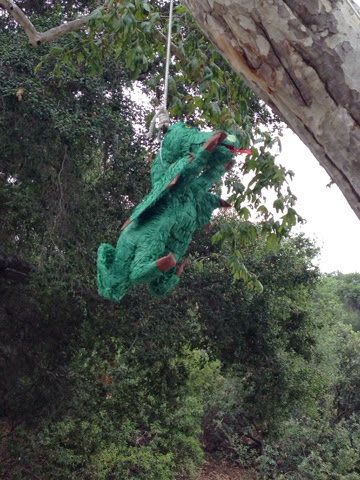
 After my son chose green and red for his theme colors. We made crest banners and my son chose this dragon for his banner. I'm not good at drawling so my sister made a stencil of this dragon and I trace and cut the felt out. I use fabric glue to bone the two felt material together then E6000 to bone the wood stick to the felt, I set this a side and let it dry for 24 hours. I then went to my local dollar store and pick up some supplies table clothes, red plates, napkins, cups, swords, princess crowns, and necklaces and little party favors to put in the piñata.Then party city for gold forks and cake plates, boys crowns. The piñata and boys create their own shields was from Amazon.
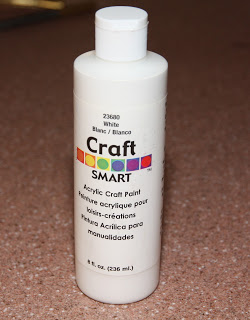
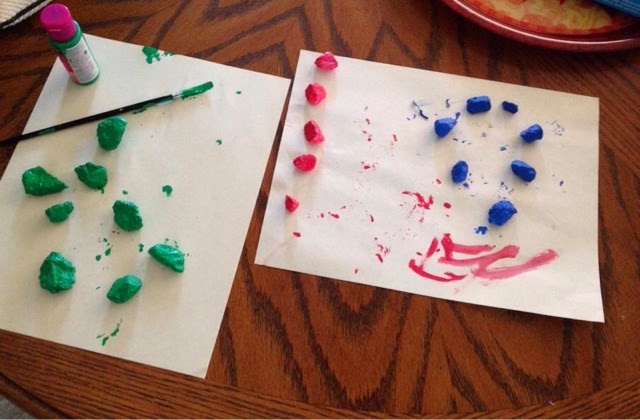
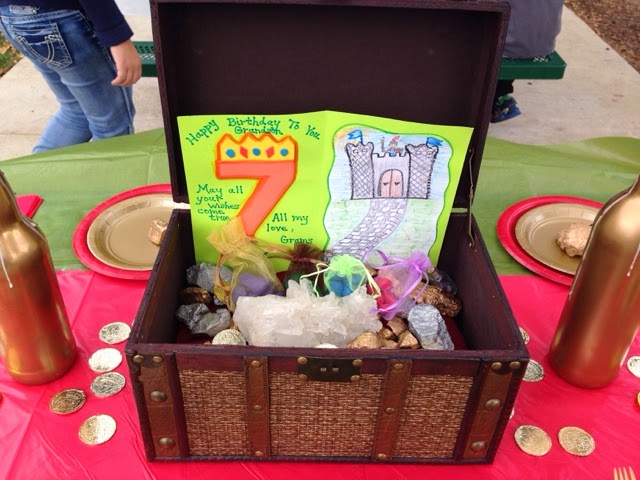
 My son wanted gold, silver, emerald sapphire, ruby, amethyst rocks. So we started collecting rocks and with gold and silver spray paint I painted rocks and with craft paint we made the others. 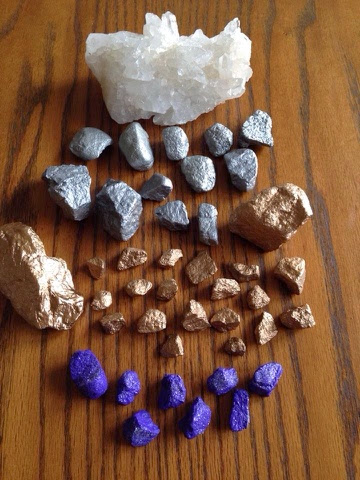
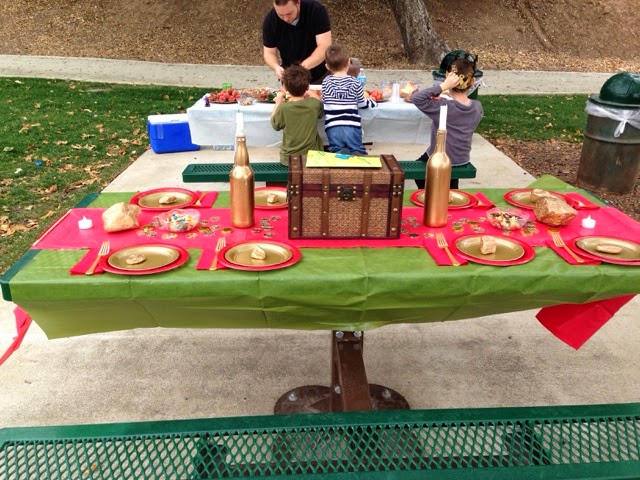
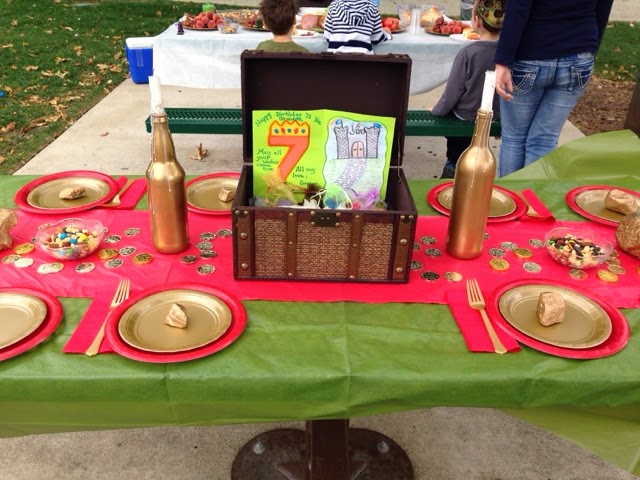
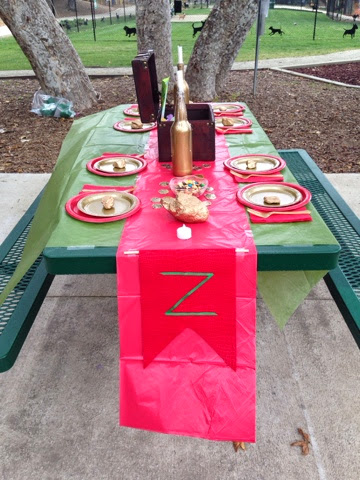
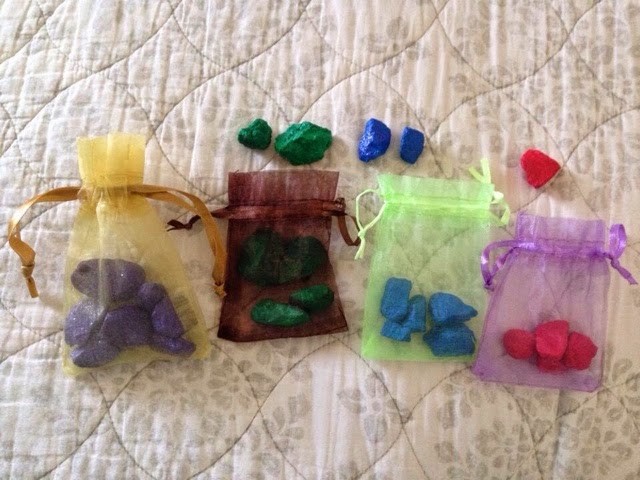 I also spay paint old champagne bottles and got candlesticks from the dollar store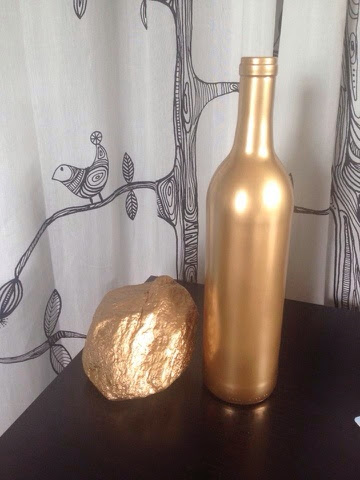
 Me and my sister found this treasure chest at Ross in the home good department for $12 and I feel it withe the rocks we made.
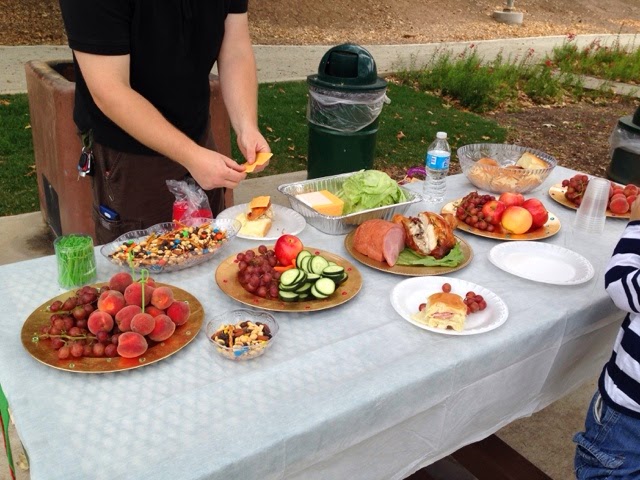
  Last but certainly not least the cake and food. For food we chose midevil themed, fresh fruit, vegetables, bread rolls, cheese, nut trail mixs, roasted chicken and half a ham and juice and water. This was easy and cheap, most fruit came from our back yard and we chose vegetables in season. We had everyone make sandwiches from the chicken, ham cheese, lettuce, and we also brought muster and mayonnaise.
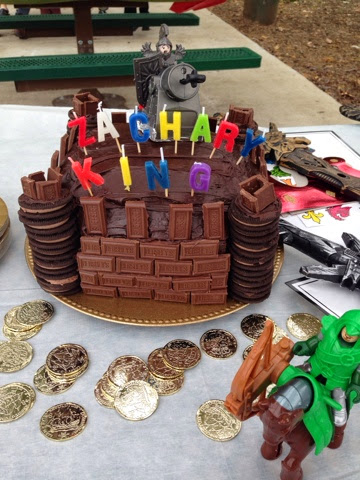
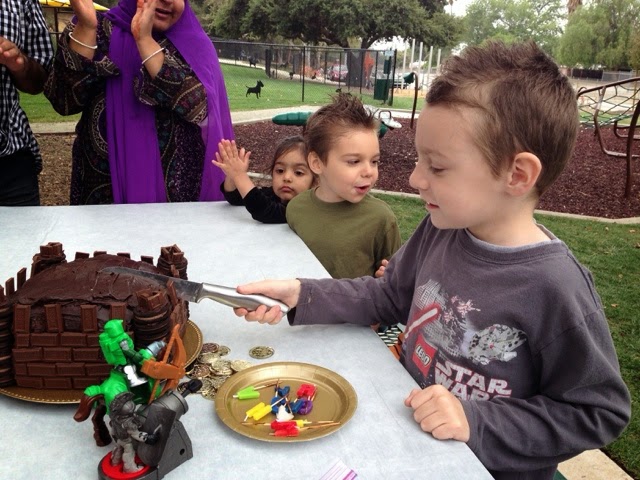
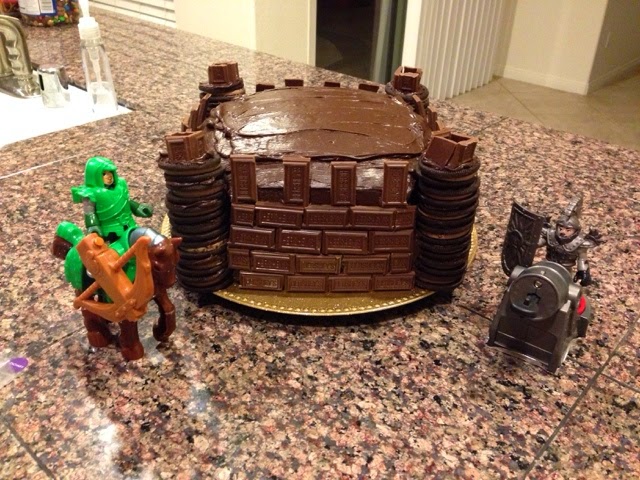
I also spay paint old champagne bottles and got candlesticks from the dollar storeMe and my sister found this treasure chest at Ross in the home good department for $12 and I feel it withe the rocks we made. Last but certainly not least the cake and food. For food we chose midevil themed, fresh fruit, vegetables, bread rolls, cheese, nut trail mixs, roasted chicken and half a ham and juice and water. This was easy and cheap, most fruit came from our back yard and we chose vegetables in season. We had everyone make sandwiches from the chicken, ham cheese, lettuce, and we also brought muster and mayonnaise. Cake!!!! The cake had only one criteria chocolate. So again Pinterest came in handy. I found a picture of a chocolate castle cake. This look easy and it was but I suggest chilling the cake after applying the Hershey bars and when assembling the Oreos towers you put them aside and let the frosting chile. I simply used chocolate cake mix, dark chocolate Hershey frosting, Hershey squares, and chocolate Oreos. Follow the cake directions, let the cake cool completely before frosting, chill the Hershey squares so they do not melt in your hands why assembling, assemble the chocolate Oreos and frosting tower and put aside and tell frosting has stiffen. I use my son castle toys for decoration and candles I got at party city. 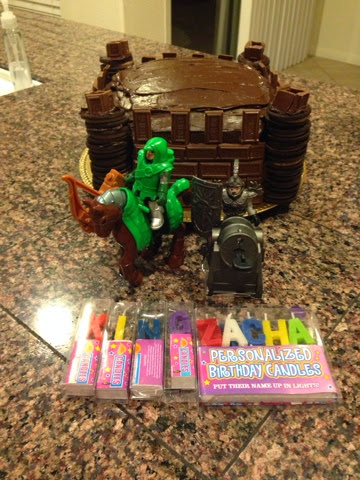




Happy 7th birthday!!!!
So here the final cost, park was free, food under $50, party supplies less then $10, piñata and 8 shield from Amazon $18, candy and party favors $5, swords $1each, girls crowns and necklace also$1 each, boys crown pack of 12 for $3, spray paint we had but you can pretty much find it anywhere and any would do for about $3. This party was less then $100 and it was wonderful, my son friends would have been fine with just the sword and piñata but I think it came out great and my son love it and that's what counts.


BQvVqCmsV!~~60_12.JPG)